I used a piece of wood as a story stick to make sure all the supports would be the same distance from the top of the legs. A couple of clamps to hold them in place and just screw them, no measuring involved. Simple and easy.
I was going to use solid cherry for the bottom but was a little worried about expansion so I was I was going to have to use ship lap joints.I wasn't sure how it was going to turn out so I thought I might just as well use plywood and cover it with cedar.
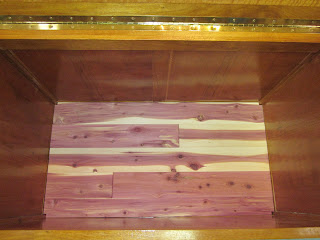
You can see in the pic the plywood base for the red cedar closet lining that I bought at Lowes. Its tongue and grove so it was just a matter of cutting the pieces to fit the plywood leaving a little space between pieces for expansion and contraction. I did run a small line of glue down the middle of each pc.and brad nailed them to the plywood to help hold them down.
After the bottom was put in I attached the top using a brass piano hing with intentions of adding a couple lid supports, but because I added wood to the top back style to beef it up for the hing, the supports I bought wouldn't fit. I'm still trying to find a set that will work.
Below Is a few pictures of the finished blanket chest. I'm happy with the results now I just have to decide how I want the second one to look.


No comments:
Post a Comment
Comments, as always, are welcome!